The Story Behind the Image - WGPC Field Trip: Five Zeros Car barn

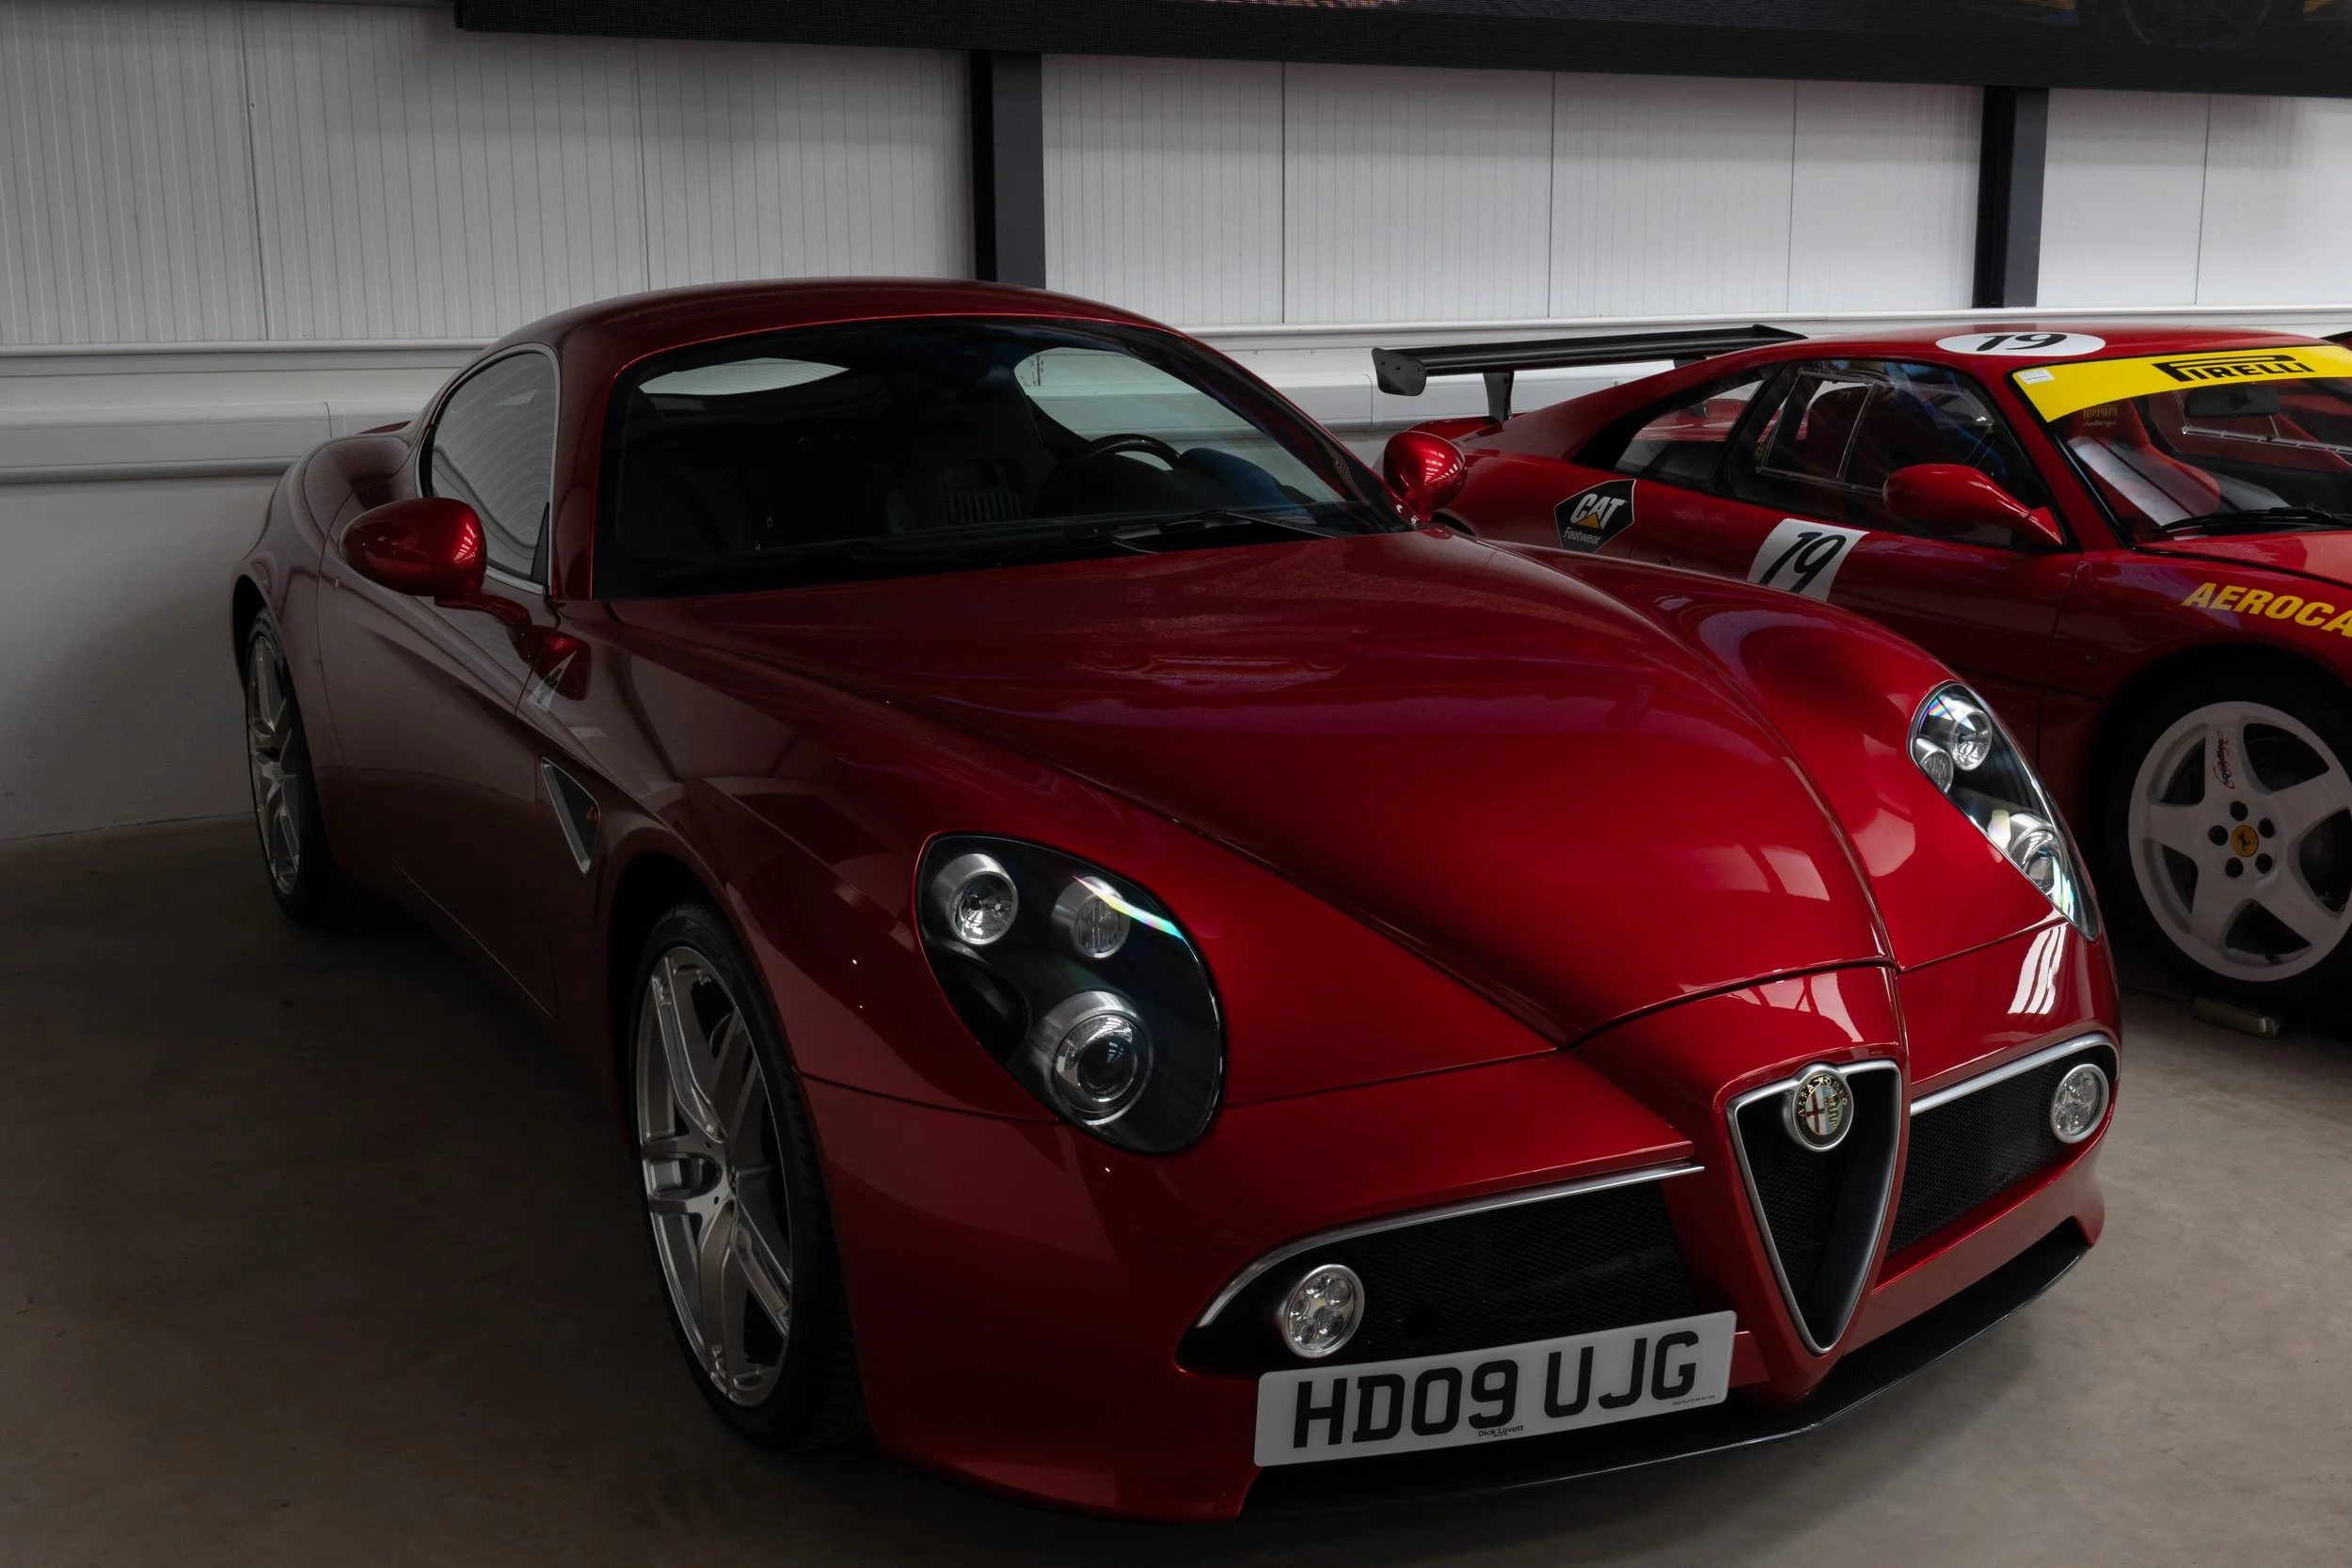
The final image, a moody black and white highlighting the curves of this Alpha Romeo.
During my planning visit to Five Zeros the previous week, I used my iPhone to take some reference shots and explore composition ideas. I knew I wanted to create a black and white “car portrait” that celebrated curves, reflections, and craftsmanship—and I had a particular vehicle in mind. My headline photo this week, above, is the result of that intention.
In last week’s blog post, I talked about using Exif data to learn what works and what doesn’t as we move beyond full-auto photography. This is a great example of using those settings deliberately and creatively. I shot fully manual on the day.
Let’s take a closer look at the image settings and what they tell us.
Camera & Lens

Screenshot showing limited Exif Data using LightRoom.
Canon EOS R6 with RF 24–105mm f/4–7.1 IS STM
Focal Length: 37mm
This zoom lens spans from wide-angle to short telephoto, making it ideal for confined spaces like a car barn. At 37mm on a full-frame body, the field of view is slightly wider than the human eye sees naturally—perfect for capturing the shape of the car without too much distortion.
Shutter Speed: 1/4 sec
The general rule for handheld photography is to avoid shutter speeds slower than 1 divided by your focal length—in this case, 1/40 sec. But this camera body has in-body image stabilisation (IBIS), offering up to 4 stops of shake reduction.
That effectively extends my handheld capability:
1 stop = 1/20
2 stops = 1/10
3 stops = 1/5
4 stops = 1/2.5
So 1/4 sec was well within range—and my lens also provides optical stabilisation, giving me even more leeway. Of course, stabilisation only compensates for camera movement, not subject movement—but I was fairly confident the car wouldn’t twitch mid-exposure!
Aperture: f/18
Knowing I’d be shooting close with a wide lens, I wanted good front-to-back sharpness. I avoided the minimum aperture (f/22) to reduce the risk of diffraction softening, even if that risk is less pronounced with modern optics. f/18 felt like a safe and effective choice.
ISO: 640
ISO was my floating variable on this shoot. I adjusted it frame-by-frame using the electronic viewfinder. I deliberately kept the exposure on the dark side to preserve highlights and avoid blowing out reflections on the bodywork. I was shooting in RAW, so I knew I could recover plenty of detail from the shadows in post. ISO 640 is well within the comfort zone of the R6, which handles noise remarkably well up to 1600 and beyond.
From RAW to Final Image
Here’s the original image, straight out of camera (SOOC):
The image straight out of camera was a long way from the stylised, moody monochrome I had in mind. After adjustments to lighting, removal of distractions, and a black and white conversion, I arrived at the final image at the top of this article.
This shot is a good example of how technical control and creative vision can come together. By choosing my settings deliberately and working within the camera’s strengths, I was able to shoot handheld at low light and still get a crisp, dramatic photo.