📱 iPhone Camera Settings — Part 1
(Apologies to Android users — if anyone can send me a screenshot of the Android equivalent, I’ll include it next week.)
As we discovered in the previous post, an app is simply a piece of software — and like any other, it can be adjusted to behave differently.
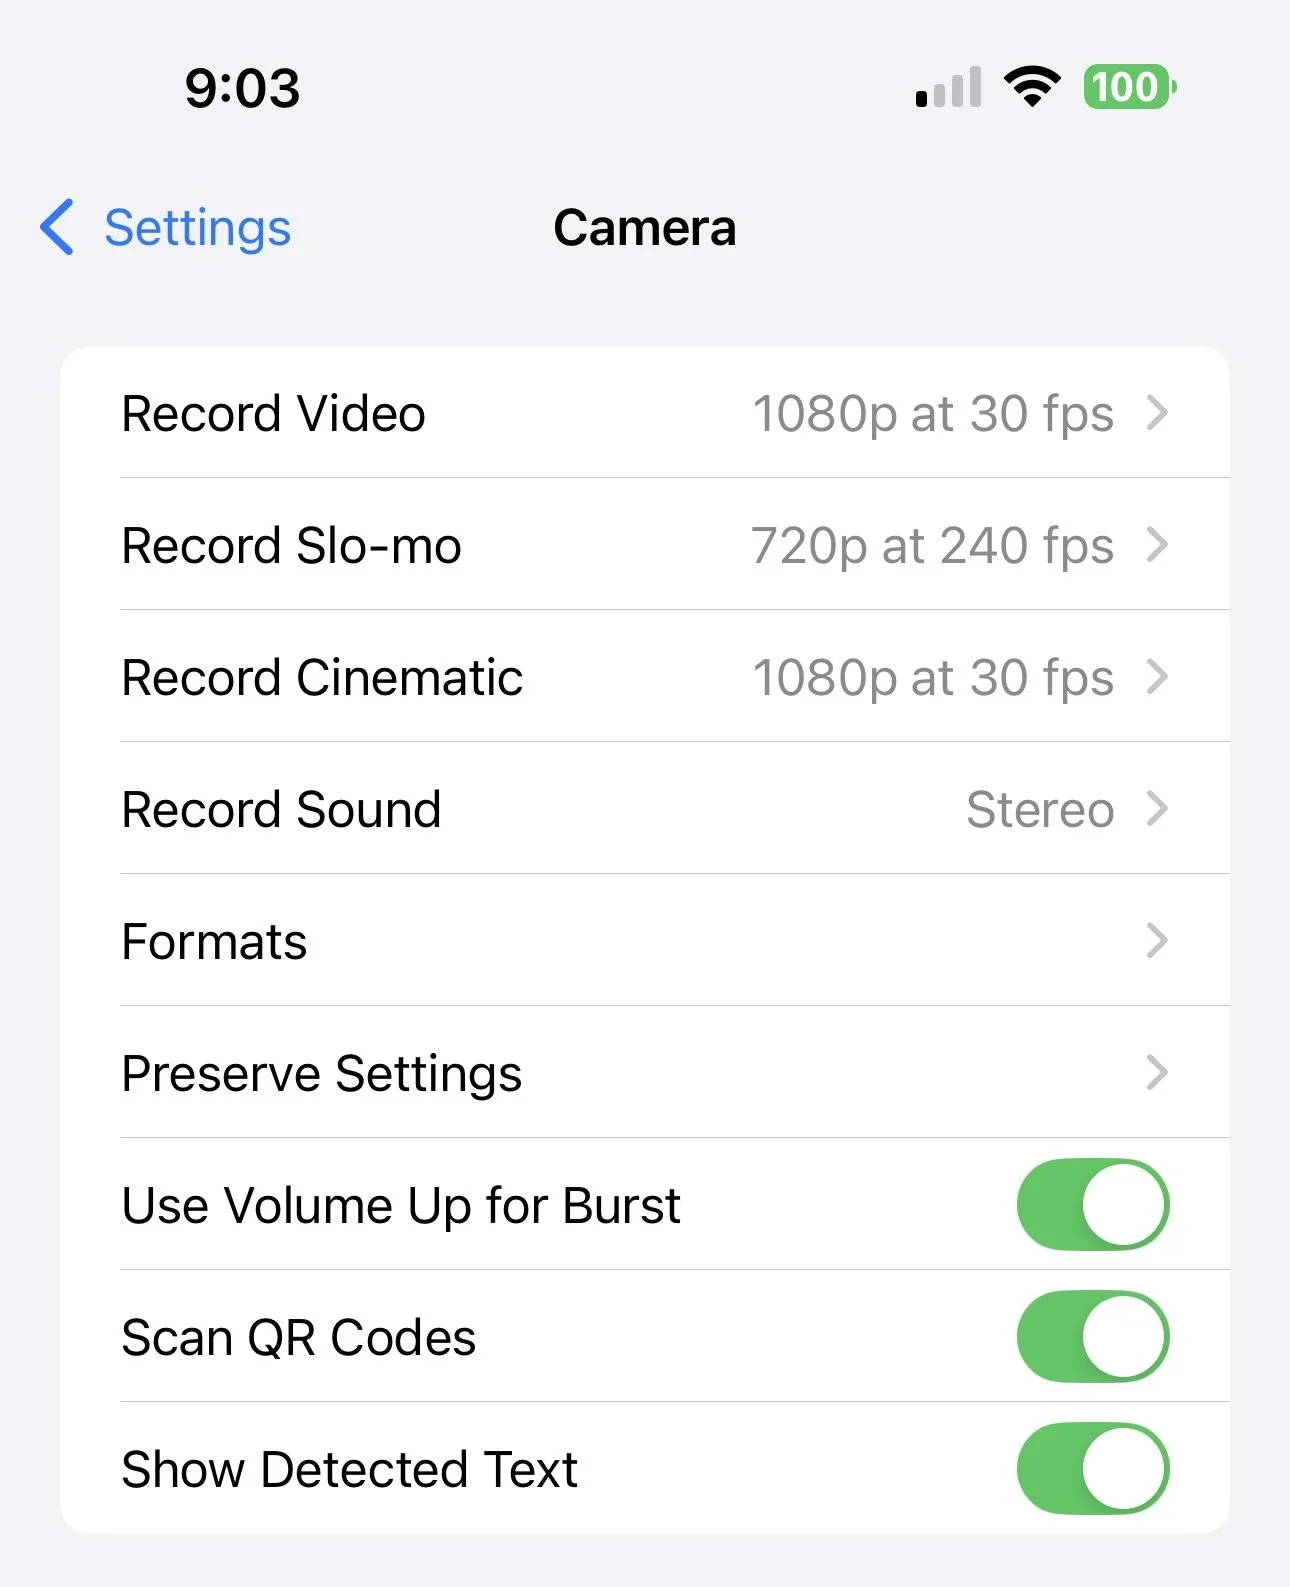
Your iPhone’s Camera app is no exception: it relies on a separate Settings › Camera screen (part of it is shown above) that governs how it records photos and videos. Apple’s defaults are designed for speed and convenience, not necessarily for the best image quality or compatibility.
For serious photography it’s worth opening this screen and customising it to suit your goals.
🎥 Record Video (not popular in WGPC)
Controls the quality and frame rate of your video recordings.
- 1080 p at 30 fps (default) — good balance of quality and file size.
- 4 K at 30 fps or 60 fps — sharper results for editing or projection but requires more storage.
For creative or presentation use, 4 K 30 fps gives the best compromise between detail and space.
🐢 Record Slo-mo
Sets how slow-motion footage is captured.
- 720 p at 240 fps = very smooth motion, lower resolution.
- 1080 p at 120 fps = higher resolution, slightly less slow-motion.
Choose 1080 p 120 fps for quality; reserve 240 fps for playful effects.
🎬 Record Cinematic
Determines the format of Apple’s simulated shallow-depth-of-field videos.
Keep 1080 p 30 fps unless you need advanced video editing. Higher settings eat storage without improving still quality.
🔊 Record Sound
Select Stereo or Mono audio recording.
✅ Stereo adds space and realism — leave it on unless storage is extremely limited.
📁 Formats - IMPORTANT FOR WGPC
Opens a submenu offering:
High Efficiency (HEIC/HEVC) — saves space but can cause compatibility problems with non-Apple devices.
Most Compatible (JPEG/H.264) — larger files but universally readable.
For WGPC sharing and cross-platform use, Most Compatible is strongly recommended.
⚙️ Preserve Settings 🚫
Very Important!
This option decides whether the camera remembers your last shooting mode and feature choices — including the Live Photo setting.
If you leave it OFF, the camera silently turns Live Photos back on every time you open the app, meaning every still image becomes a tiny 3-second video clip. These clips then upload to Google Photos and clog your albums with short, shaky animations.
✅ Turn Preserve Settings ON and make sure Live Photo = OFF inside the Camera app once.
The phone will then remember to stay off, saving space and keeping your uploads clean still images.
🔘 Use Volume Up for Burst
Lets the top volume button trigger a rapid burst of shots when held down.
✅ Useful for capturing moving subjects or fleeting expressions.
🔍 Scan QR Codes
Allows automatic recognition of QR codes — harmless to image quality.
✅ Leave ON for convenience.
✍️ Show Detected Text
Enables automatic text recognition in your viewfinder.
Doesn’t affect photos; purely optional.
📸 FAQ – Why do we say turn Live Photos off but turn Preserve Live Photo on?
Yes — it does sound contradictory, but both steps are important and they do different things.
Turning Live Photos off in the Camera app stops your iPhone from recording those little 3-second video clips every time you take a picture. That saves storage space and prevents problems when sharing or printing your photos.
Turning on the “Preserve Settings → Live Photo” option in Settings → Camera → Preserve Settings tells your iPhone to remember that choice — in other words, it will keep Live Photos off next time you open the Camera app instead of switching it back on automatically.
If you leave that preserve setting off, your iPhone will quietly re-enable Live Photos every time you reopen the Camera app — which is why so many people think they’ve turned it off when they haven’t!
✅ In summary:
Camera app → Live Photo: OFF
Preserve Settings → Live Photo: ON
That combination keeps Live Photos properly turned off until you choose otherwise.